Contents
Table of Contents
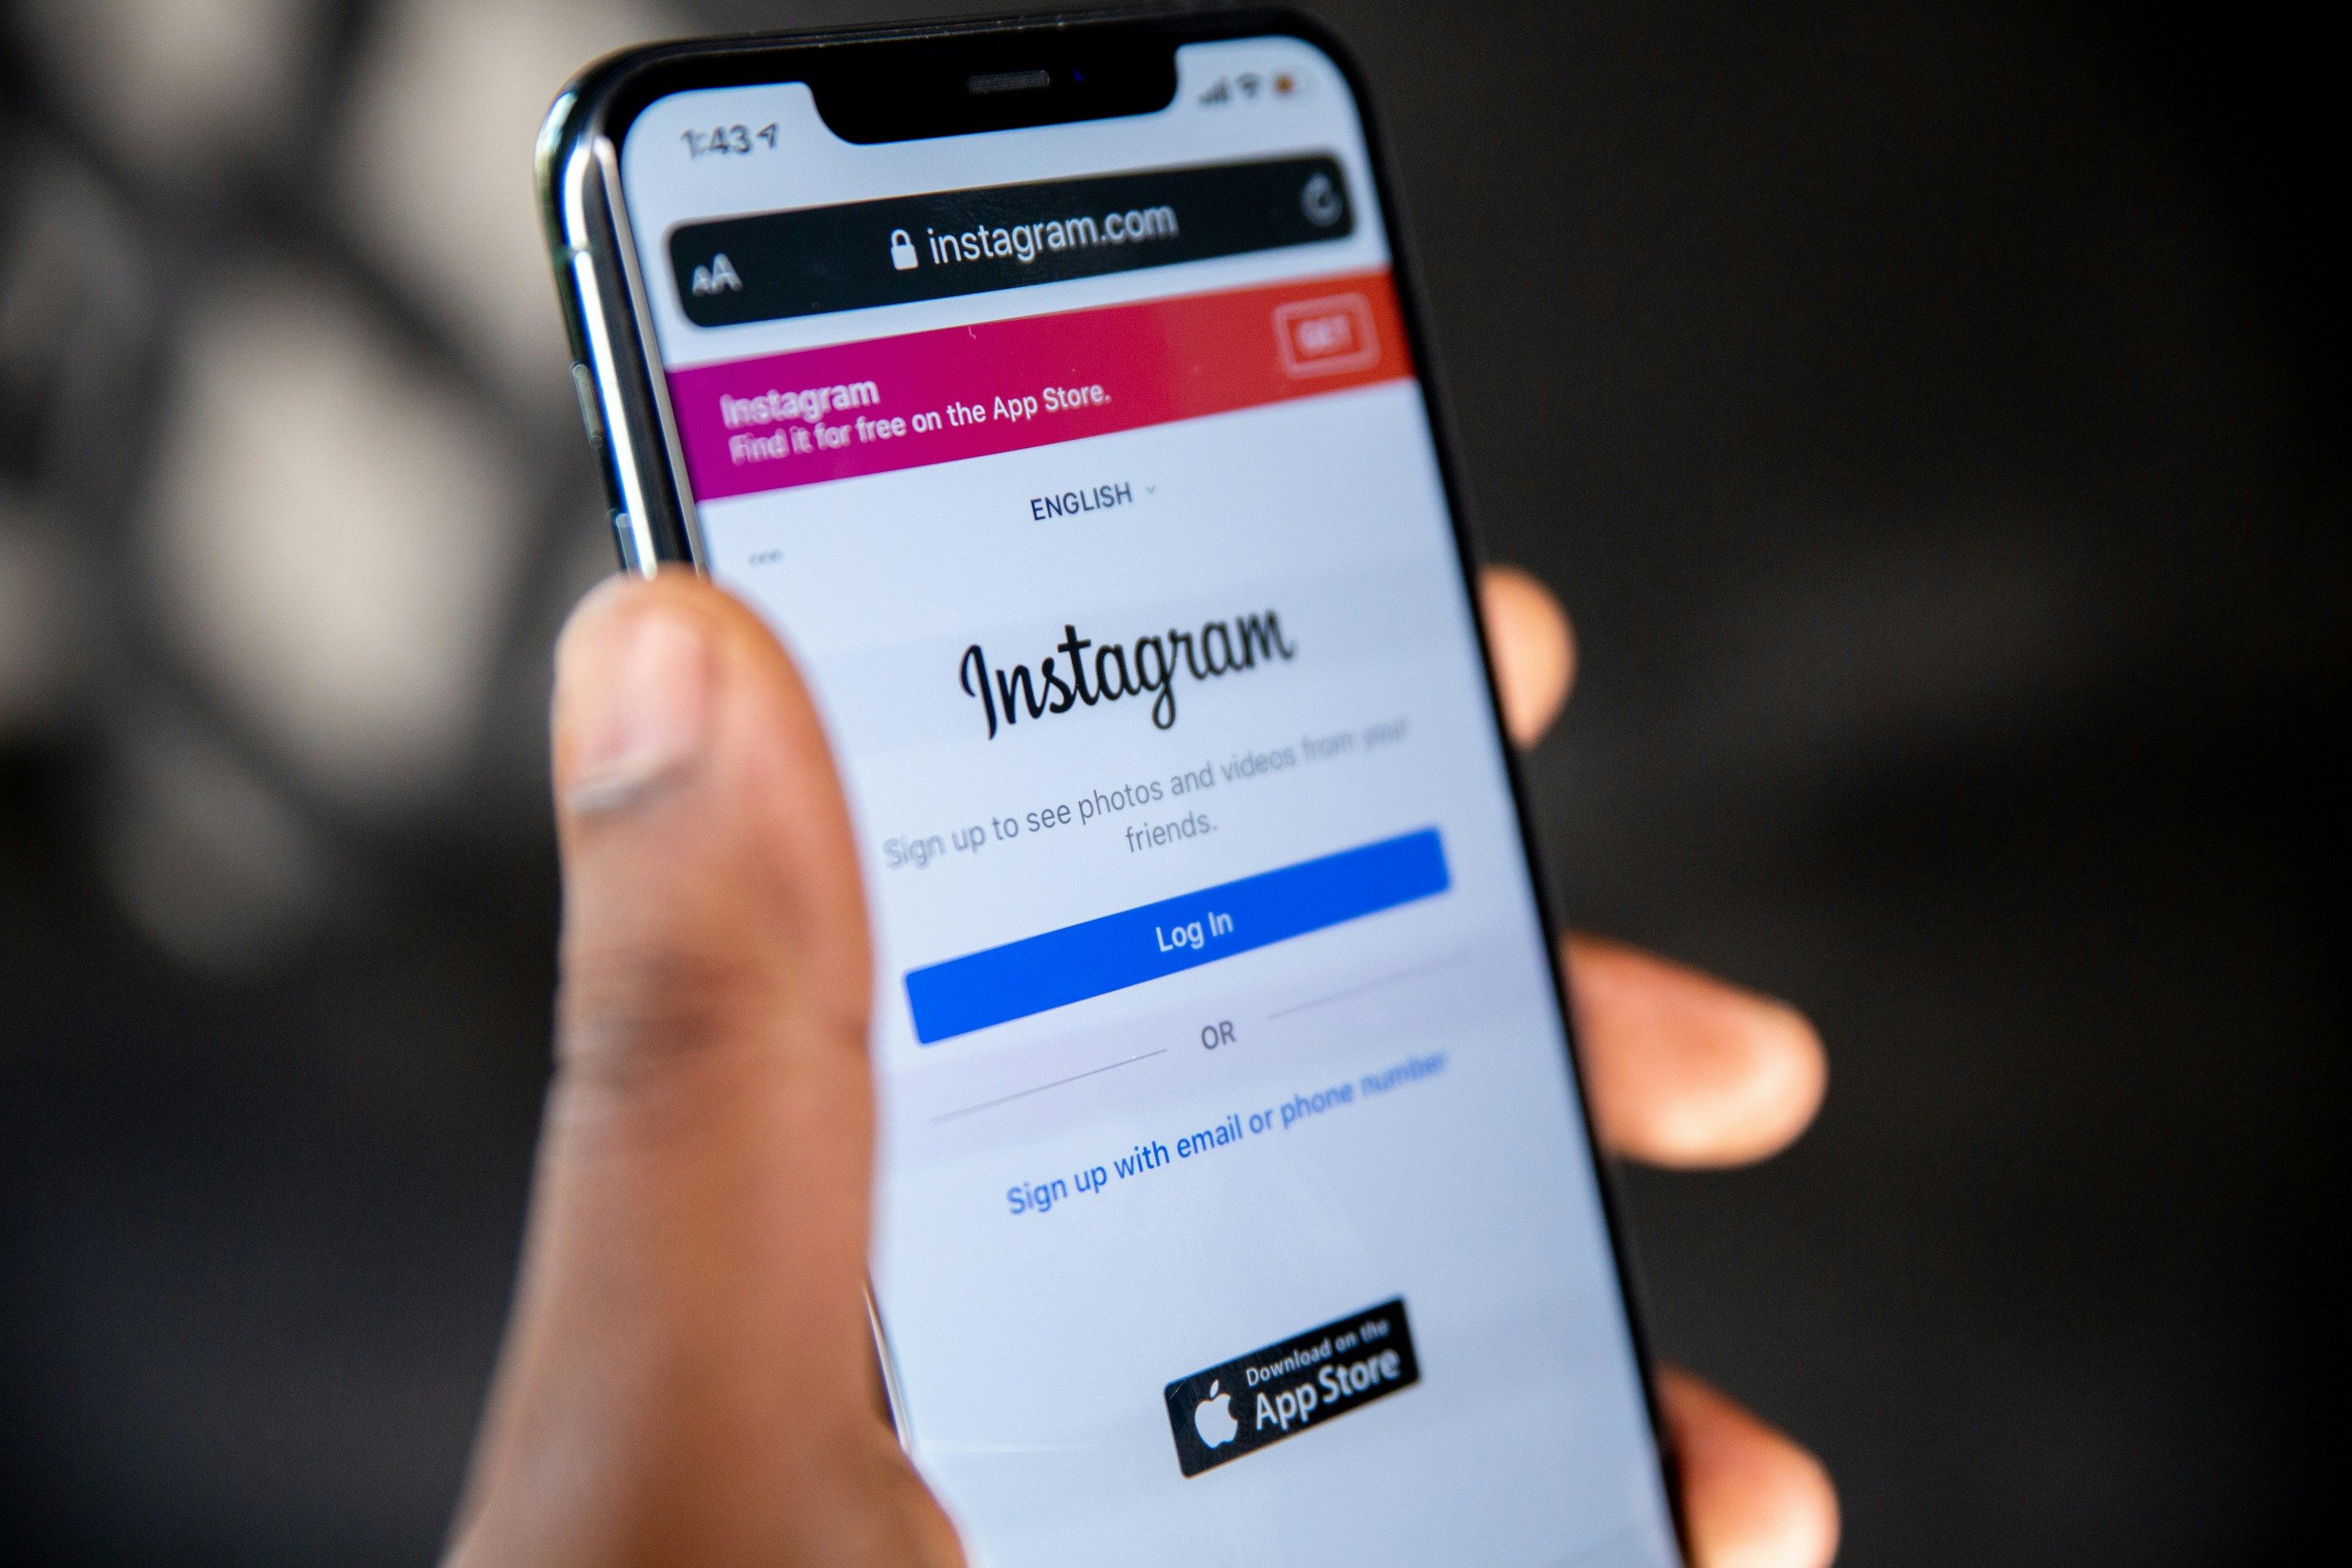
Alright, so we’ve learned something about reels and ways to monetize your social media, but nothing about photos yet. Photography is the basic for this industry. And the best part, you don’t need the fanciest equipment to take good photos.
Does a better camera help? Of course it does, but it also depends on your level. So, investing $5000 in a camera body might not be the smartest move.
This is why, in this article, we will tell if you have to spend thousands of dollars on equipment or you can simply shoot with your phone, we’ll walk you through the basics, lighting, angles, editing etc.
Stay with us if you want to become better at taking Instagram photos.
1. Laying the foundation for great photos
Starting strong means getting your gear and basics right. Pro photos begin with quality captures, so prioritize clean, intentional shots to make editing easier and results stunning.
What gear do I need to take Instagram photos?
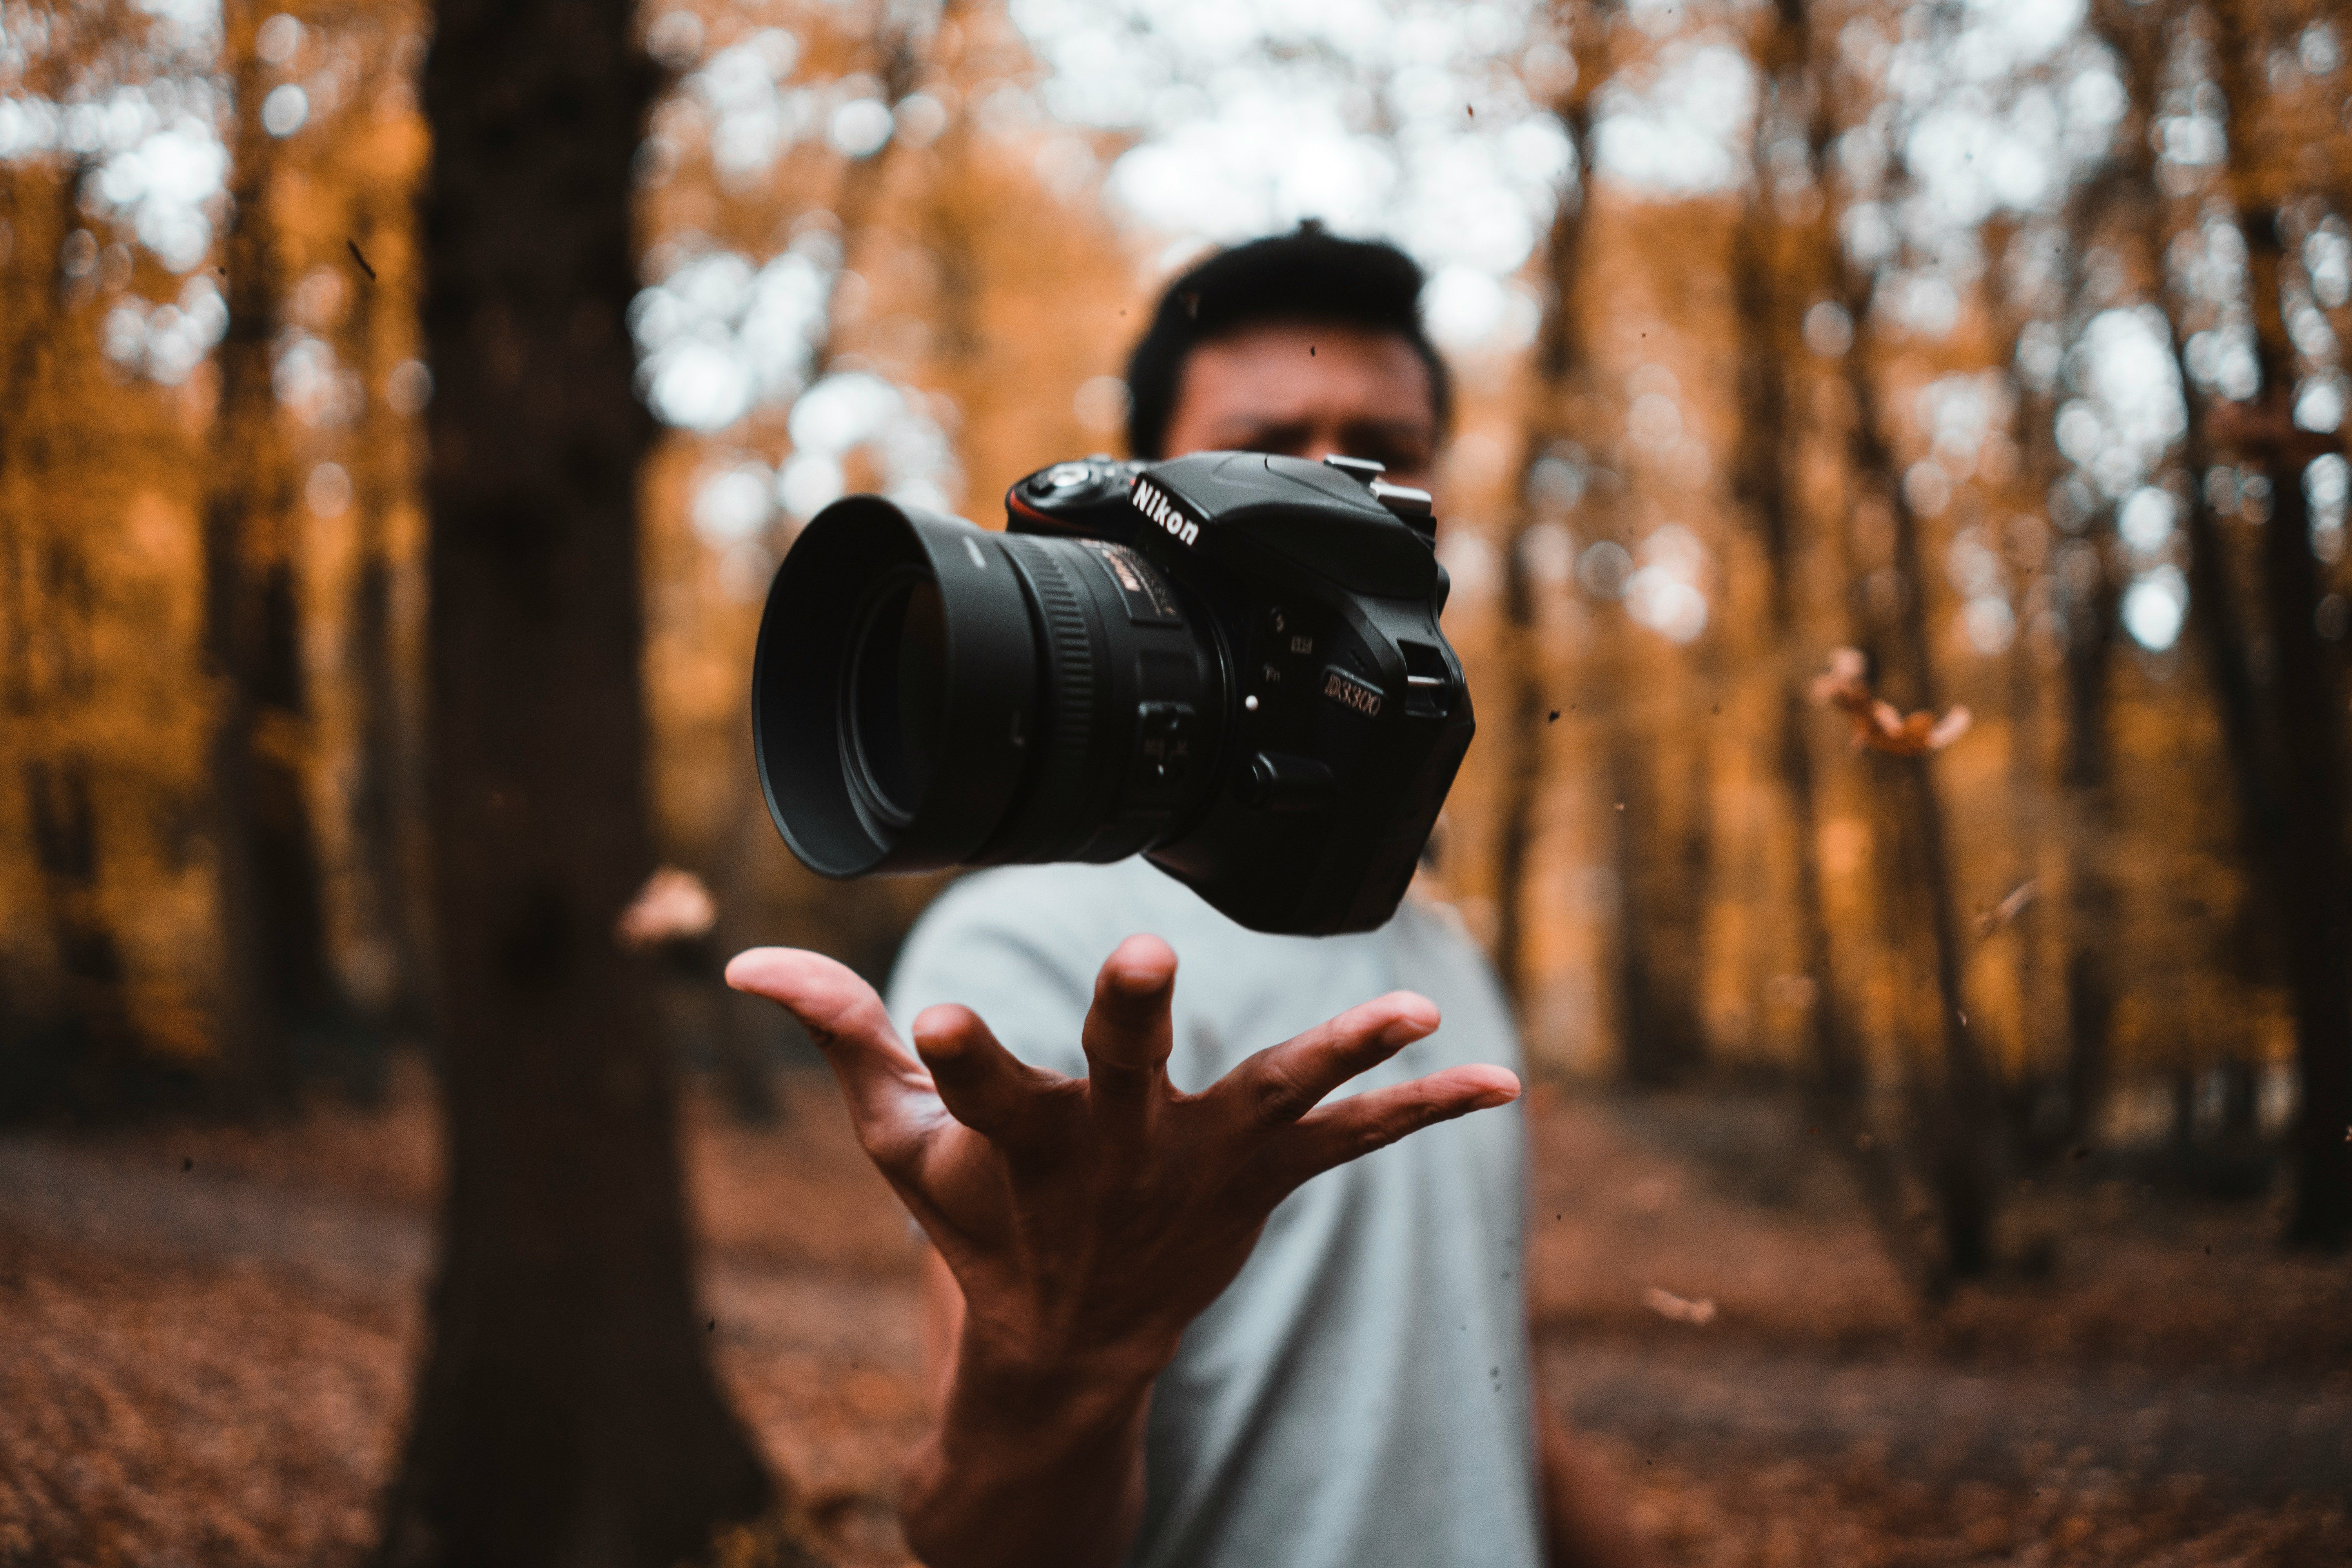
- Opt for a high-quality smartphone camera like the iPhone 15 Pro Max or Pixel 8 Pro for excellent resolution and low-light performance. Some other phones do miracles, so you might want to check other phones, if you are not a fan of the ones we mentioned.
- Invest in beginner-friendly cameras like the Canon 80D ($1,000 for body and kit) or Sony a6000 ($879, mirrorless and compact) for advanced control, great for those upgrading from phones.
- Use a tripod for stability, especially for selfies, stand further away and use the back camera for sharper images.
- Accessories like ring lights or waterproof cases expand possibilities for indoor or underwater.
If we had to give you a first tip, make sure you clean your lens before shooting. Use a soft cloth to avoid smudges that ruin clarity. A second tip, start with max resolution for high-quality edits. This is because you can even crop the photo.
What are the steps to take a great photo on Instagram using your phone?
- Open your phone's camera or Instagram's built-in one via the "+" icon.
- Explore modes: Turn off HDR for low-light or moving subjects to prevent blur; use portrait mode for bokeh effects like natural, studio, or high-key light.
- Frame, tap to focus, and use burst mode for the perfect moment.
- Review and select before uploading.
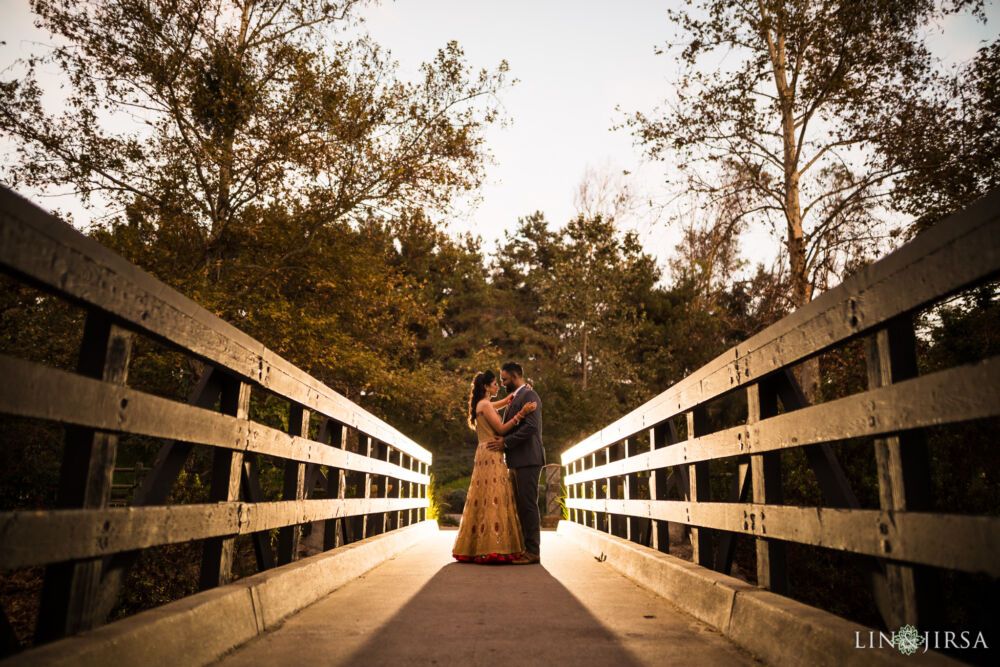
Plan your shot's story or emotion first. Many creators suggest prepping poses for natural confidence. People are advised to practice angles to flatter your subject. You will have to take hundreds of shots rapidly, 99 might flop, but one could be gold.
How can I use my phone's camera features?
- Enable grid lines for composition. (“To display a grid or level on the camera screen that can help you straighten and compose your shot, go to Settings > Camera, then turn on Grid and Level.” source Apple)
- Use portrait mode to blur backgrounds, ideal for products or portraits.
- Activate HDR selectively for balanced high-contrast scenes.
Shoot from various distances and crop later; hold the phone farther to avoid distortion in selfies.

2. Composition and lighting
Composition draws the eye, while lighting sets the mood, these fundamentals turn snapshots into engaging art.
How do I compose Instagram photos for maximum impact?
- Apply the rule of thirds: Position subjects off-center at grid intersections for balance and interest.
- Incorporate negative space for focus; avoid clutter or crowds by choosing unique spots.
Trick to keep viewers engaged: Single focal point for quick impact. We can assure you that composition is a top factor.
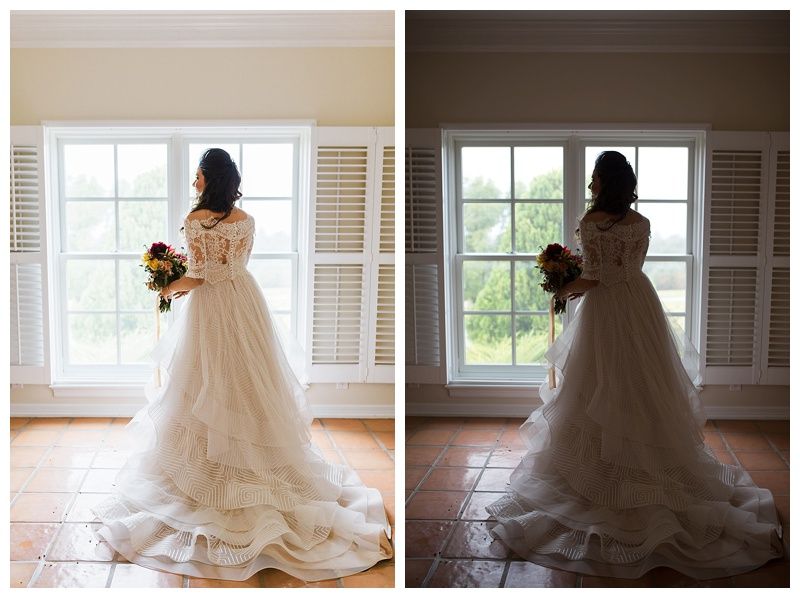
What are the best lighting tips for Instagram photos?
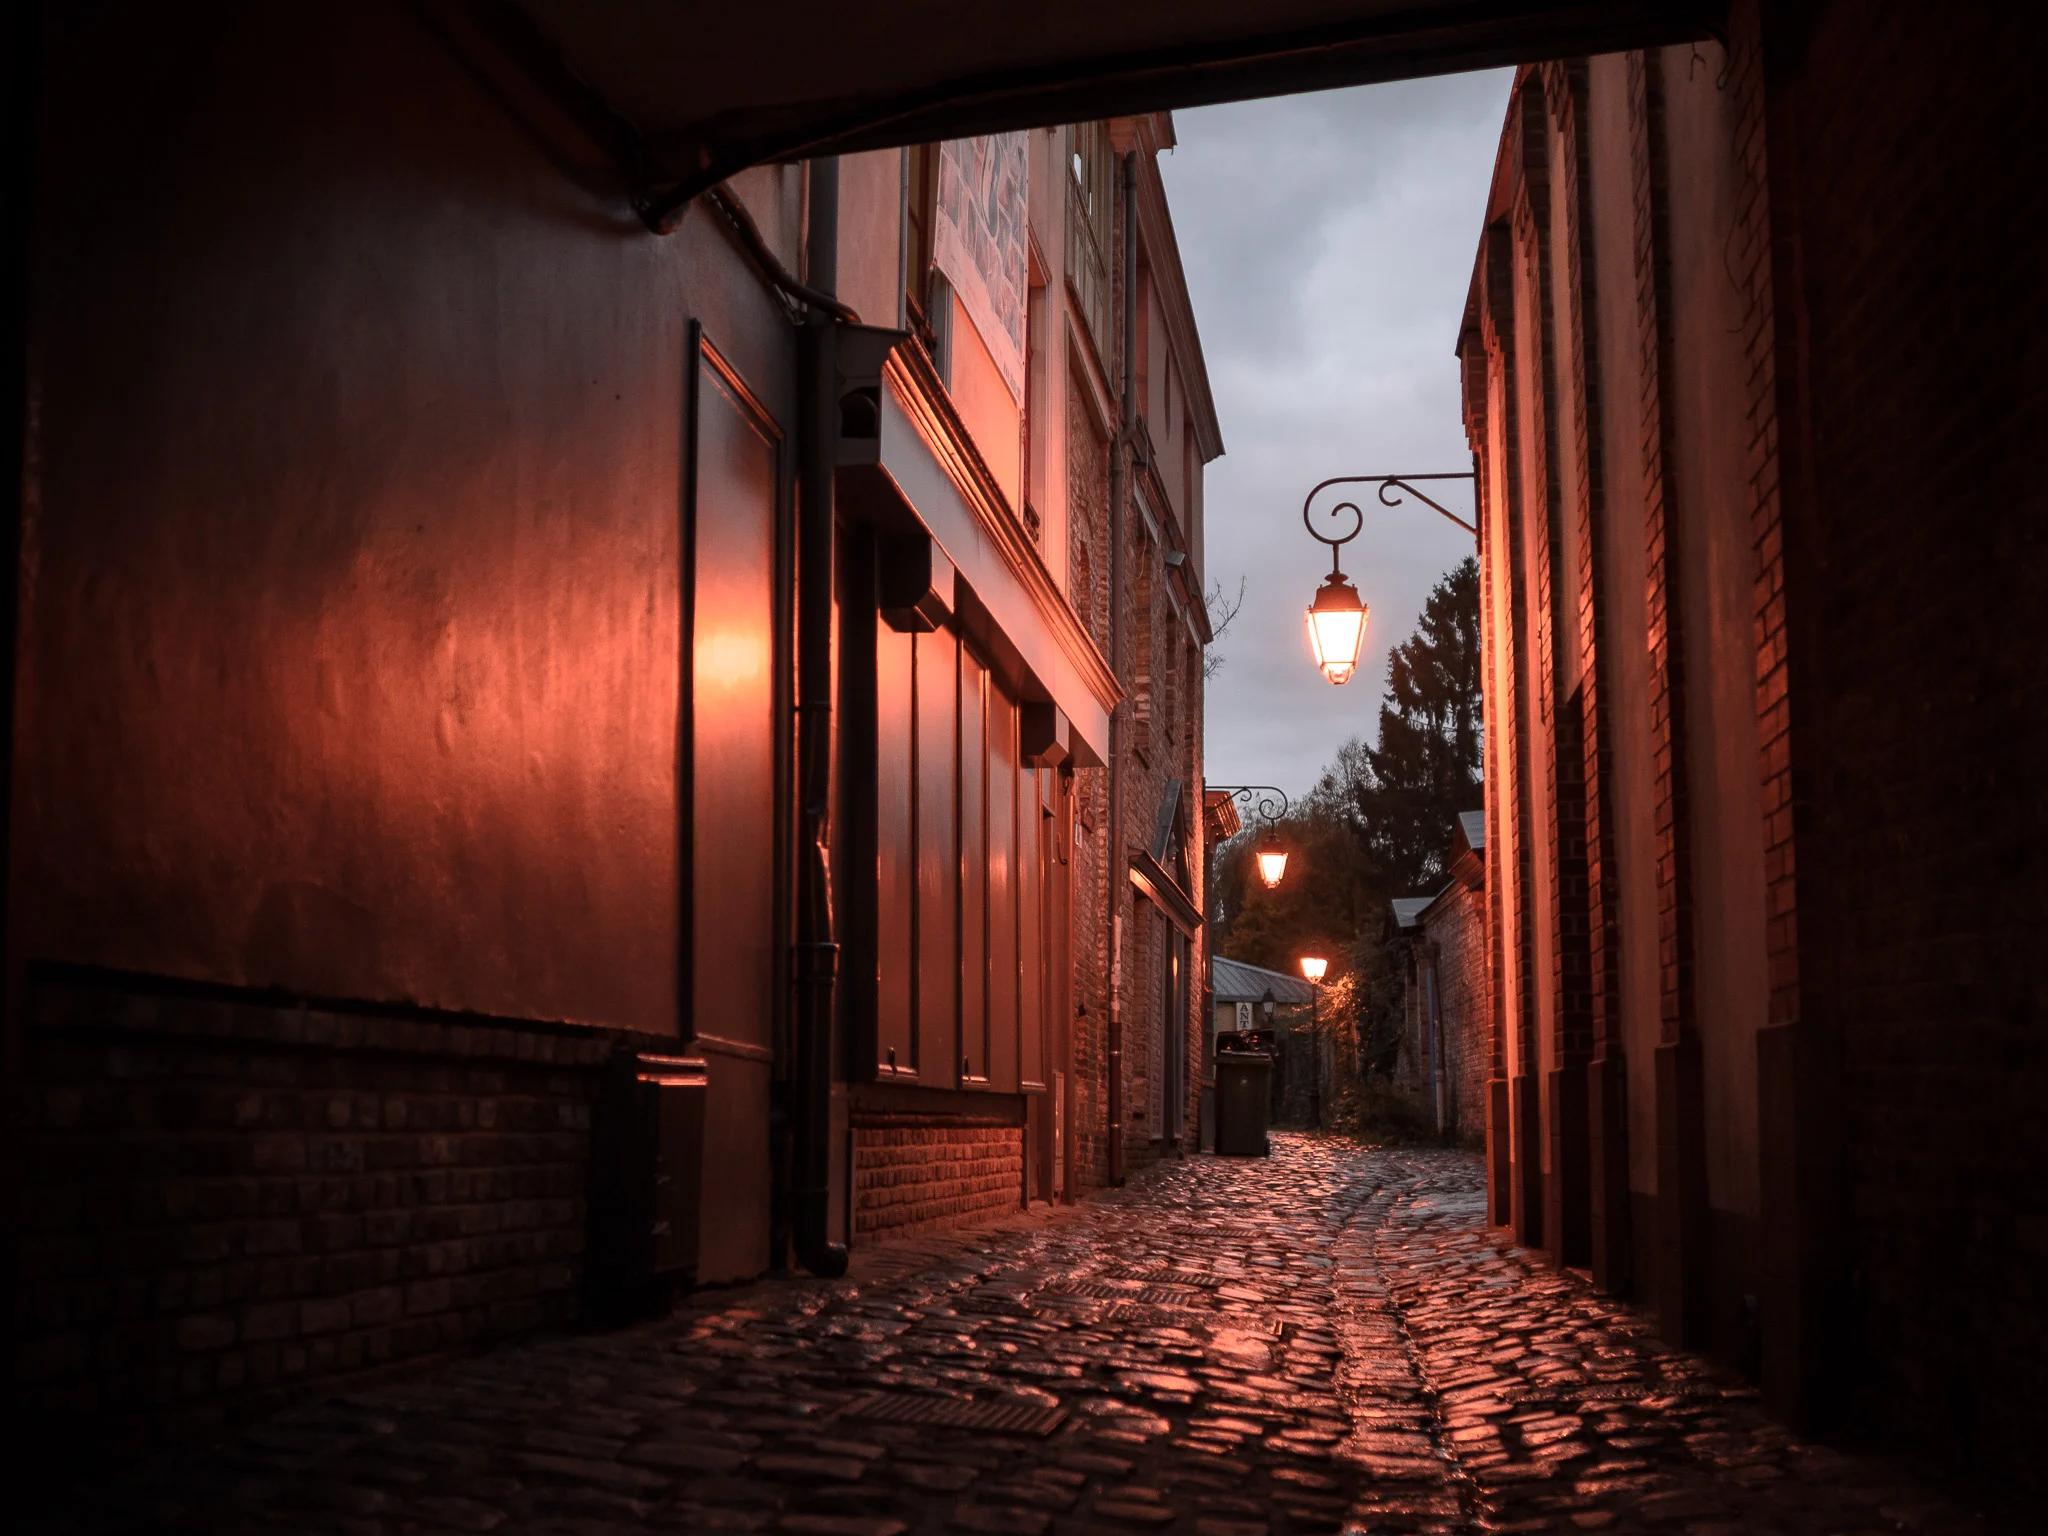
- Prioritize natural light during golden hour for soft, flattering tones; position it behind the camera.
- Indoors, use windows; avoid flash or harsh artificial lights to prevent flatness or shadows.
- Opt for warm hues over cold for better skin tones.
Slightly under-expose and edit later. Use golden hour for that "glow-up". In the next video, you will find more tips on how lighting works.
How do I use angles, poses, and expressions effectively?
- Angles: Experiment low for drama, high for slimming; hold phone above nose for selfies to minimize distortion.
- Poses: Keep natural, avoid stiffness; lean forward, raise chin, or turn slightly side-on. Practice in mirrors or via video frames.
- Expressions: Smile with eyes; look at the lens, not preview. Act like hearing good news for genuine vibes.
Photographers are not there to stay still and take photos. Make sure you communicate poses to your photographer, as there is no one better to guide you.
3. Editing and features: Polishing your photos to perfection
Subtle edits enhance authenticity, overdo it, and it looks fake.
How do I edit Instagram photos like a pro?
- In-app: Adjust brightness, contrast, saturation; use Lux for exposure, vignettes for depth.
- Lightroom basics: Tone curve, brighten, contrast up/clarity down for dreamy vibes; mask subjects subtly.
- Keep filters minimal for realness.
We have to emphasise this. Light touch-ups only!
What tools and apps should I use for editing?
- Built-in Instagram or Google Photos for quick fixes.
- Pro apps: VSCO (presets), Lightroom (mobile/desktop), Photoshop ($9.99/mo for enhancements), Luminar (one-time fee, mood templates), GIMP (free), Facetune (skin smoothing), TouchRetouch (remove distractions).
Use presets for cohesive feeds and we suggests color palettes for branding.
4. Advanced and creative techniques
Elevate with creativity to stand out, focus on storytelling and uniqueness.
How do I create viral or professional-looking photos as a beginner?
- Draw inspiration from influencers like @emmachamberlain; capture contrasts or stories.
- Visit off-beat locations for crowd-free shots; be "a little crazy" safely for drama.
- Use props or action for dynamism.
Keep in mind! Quality over quantity; but in order to get quality, you might have to go for quantity first. You will need to take the perfect photo for storytelling. Why? Well, storytelling engages!
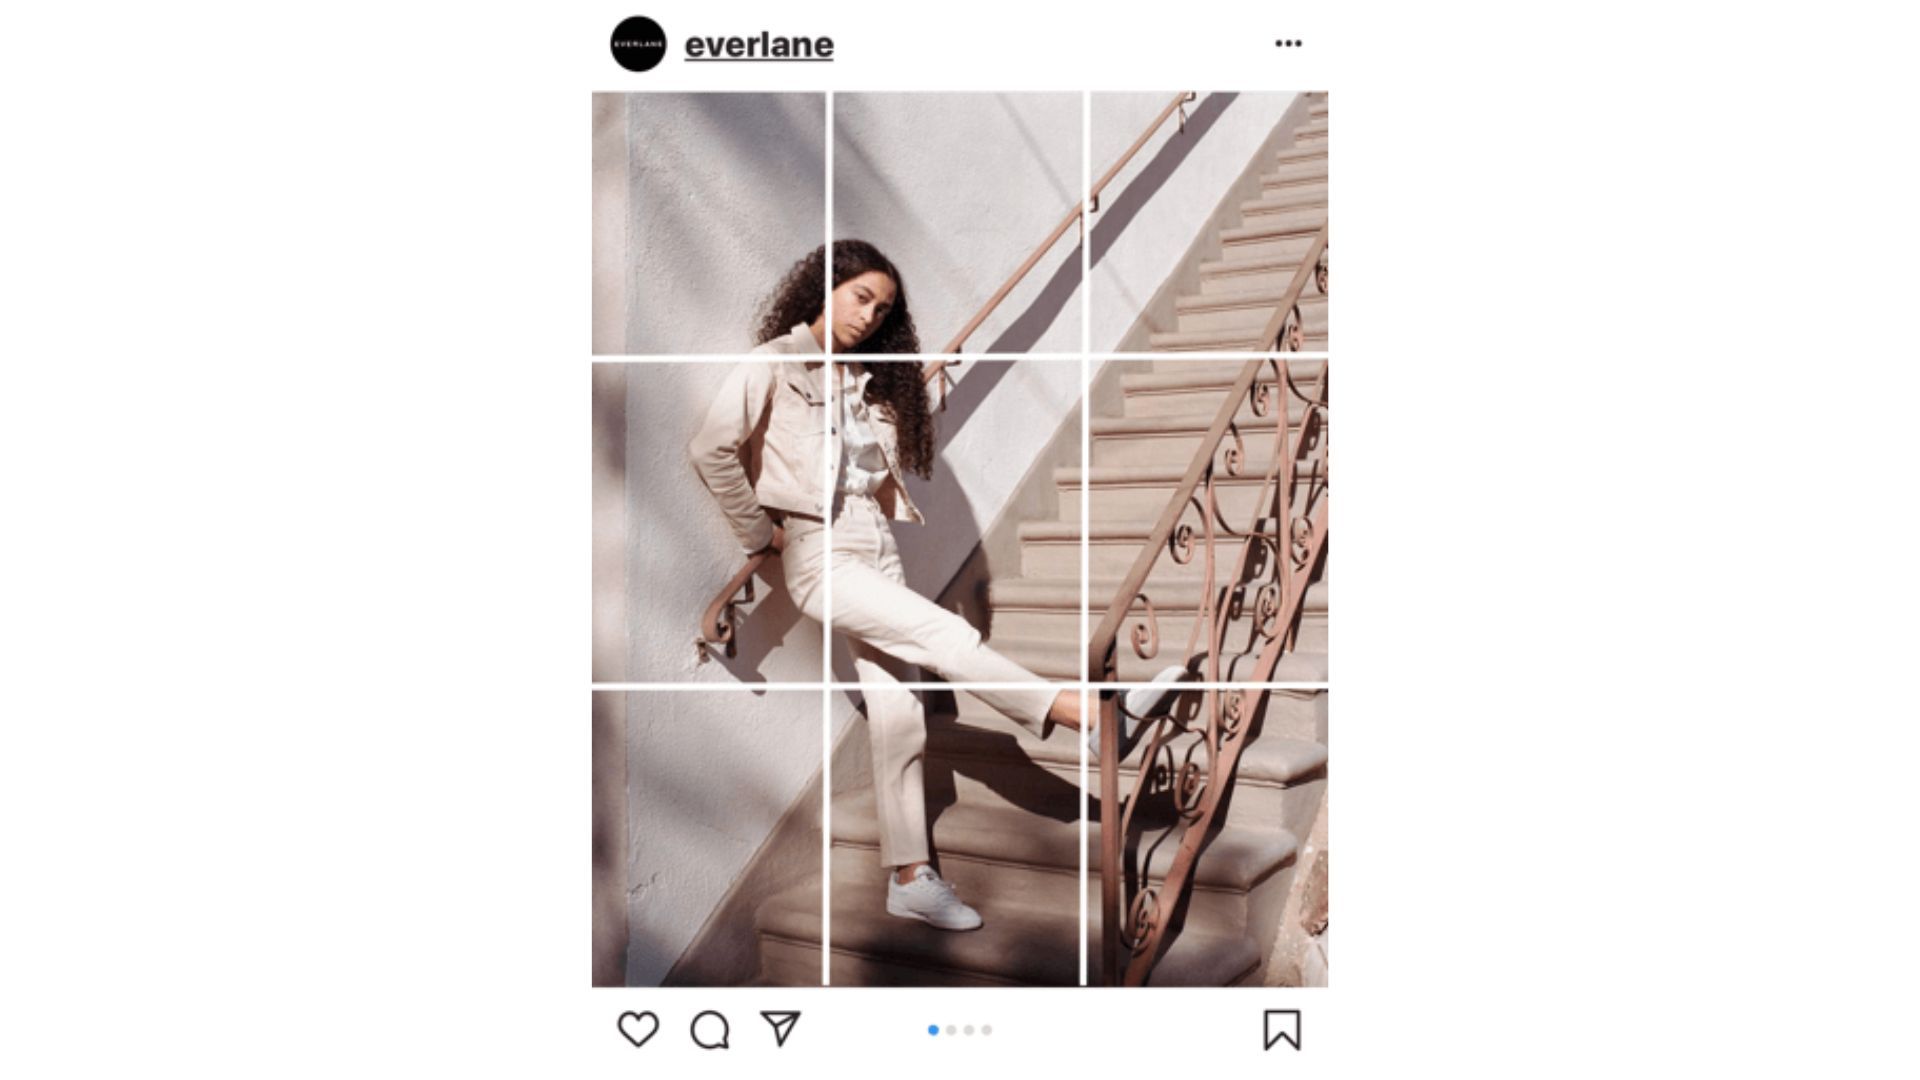
What tips for themed feeds or storytelling in photos?
- Cohesive palettes or grids (e.g., checkerboard).
- Unique spots like graffiti walls or stairways; add scale for impact.
User-generated content builds community. If it is too hard to do it yourself in the beginning, you might want to partner with other professionals.
How to shoot in different environments?
- Outdoors: Golden hour, no HDR unless needed.
- Indoors/Night: Windows or modern low-light cams.
Pro Advice: Capture "eye-spy" moments, it highlights seasonal uniques like morels.
5. Sharing and optimization: Boosting reach and performance
- Craft captions with relevant hashtags and CTAs (e.g., questions).
- Optimize profile: Clear photo, bio.
- Track engagement rate, saves, shares, focus on comments.frameiteasy.com
Post consistently and use trends creatively. Start with low expectations, but keep showing up as persistence pays off.
6. Monetization and earning from Instagram Photos
- Secure brand partnerships via quality content and marketplaces.
- Leverage affiliates, prints, or sponsored shoots. But for this, many pros stress professional profiles for clients. Remember, niche + hashtags grow sponsorships.
Conclusion
After going through thousands of photos from our influencers, we can say one thing: what’s often missing is practice. To get better at photography, you have to keep practicing, simple as that.
You might compare your photos to ones you see online and wonder, “Why doesn’t mine look like that?”
Well, it comes down to the basics: angles, lighting, composition. And most importantly, your photo should tell a story.
We hope this helps!
If you’re a brand looking for skilled creators to handle your content, Social Cat is the place to find them.
And if you’re an influencer, there’s no better way to grow your skills (and get rewarded) than by collaborating with real brands.
Till next time!